Showing posts with label bracelet. Show all posts

Friday, September 21, 2012

Lock and Key bracelet

I made 6 (plus two more with chain that I had on hand, not pictured) of these from the supplies that I got and giving some to my friends so it was worth the cost of supplies. You know that I kept one for me (not pictured since I was wearing it, love this bracelet). This tutorial is from the wonderful Anne of Wobisobi  http://wobisobi.blogspot.com/2012/09/lock-and-key-bracelet-diy.html


Tuesday, August 28, 2012

His and Her's September Challenge


So far I have made these, the picture is using the front of the rule book, money and a matte. I used a Dollar Store frame that I spray painted blue. I used the money to make paper beads and paired it with a token from  the game and pearls to make a sweet little bracelet that I think I will give to a friend's daughter when the challenge is over.


Sunday, July 29, 2012

Brooch Bracelet

Check out this bracelet I just made. I love it. My skin is pale, even though I go into the sun. At least I don't sparkle ;)


I bet you have everything to make it. You need beads (I used what I had on hand, some purple Czech beads, metallic plastic beads and glass pearls), a brooch and stretchy stringing material and maybe some glue. I am about to make another one, I love this one so much! I had these brooches that my mom gave me and used one of them (so far) to make a bracelet I will wear often. Here is the tutorial from the talented Oskana B, this girl is amazing. 

Thursday, July 26, 2012

Ribbon Bracelet

I made this today in a very little amount of time for free. My favorite thing. I had everything on hand to make these in my stash and my ribbon that I had is even similar to Jutta's.


 I would like to point out our model's vintage hair, made with Honeybun yarn that I got from Goodwill. Trippy!


Bought from Ames! Wow what an awesome price.


Tobacco color? What the what?


To make your own bracelet, click the link.


Saturday, July 14, 2012

Gypsy Bracelet

I made this bracelet from an Arizona Green Tea can. You can get them at 7-11 literally all day long for $.99 a can and you get a lot of tea, and plus it tastes good. I usually get a couple at a time. I got a 3/4" hole punch from Michael's today and they were 40% off so I got to use my 50% off coupon on something else. Chris calls it a Gypsy Bracelet because it is shiny and is made from metal disks that make a jingling sound. It is a really cool bracelet. I can't take credit for this, I saw it on Etsy from Sodacangirl http://www.etsy.com/listing/50573573/soda-can-bracelet-arizona-green-tea?ref=sr_gallery_2&ga_search_query=arizona+tea+can+bracelet&ga_view_type=gallery&ga_ship_to=US&ga_min=0&ga_max=0&ga_search_type=all


Saturday, June 23, 2012

Marvin the Martian Bracelet Watch

How do you guys like my Marvin the Martin watch? This is an old watch that I had that my ex-husband gave me. It is one of the few things I kept that he gave me. I lost one of the pins that holds the watch band on and I fixed it with a jump ring and E6000 glue. I made links with beads left over from another project. It just needs a new battery.


Monday, June 18, 2012

Paperclip Bracelet

If you have beads and paperclips, you can make these bracelets! This is from Emi Harrington http://www.favecrafts.com/Bracelets/Paper-Clip-Bracelets/ml/1
and these are super simple and fun (and cheap) to make. The silver beads are from Micheal's, the pink beads are from the Dollar Tree and the blue beads are from Mich L in LA.


Friday, June 15, 2012

Button Charm Bracelet

I made this with a charm bracelet kit that came with a necklace, headpins and jump rings in a kit from Joann's. These are leftover buttons and beads from other projects and I love how it turned out. I got the buttons from Joann's, the glass pearls from Micheal's, not sure about the other beads? 


Monday, June 11, 2012

Twist Wire Bracelet

I found this last night/this morning while looking at beading websites and wow, this is a beautiful bracelet. It is a very detailed tutorial http://littleredrobinbird.blogspot.com/2011/07/how-to-make-twist-wire-bracelet.html?showComment=1339416347765#c4064832404878432234 Mine turned out a little short, if I make another one I will make the wire lengths a bit longer. I made up for it being short with a bit of chain, which I will replace with silver chain when I go to the store again. I love it since you can use whatever beads that you happen to have on hand. I used pink beads that I got from Dollar Tree and the glass pearls from Micheal's. You can get the wire from pretty much any craft store. This can be a cheap project and it was fun to make because I wasn't sure what it would look like when it was done. The purple one is made up of random beads that I had on hand.


Sunday, June 10, 2012

Wire Wrapped Bracelet

I made this after seeing this post http://jewelsofsayuri.blogspot.com/2010/09/wrapped-3-wire-bracelet-tutorial.html from Jewels of Sayuri. She has lots of cool tutorials and posts, you should check her out. This was pretty easy to do. I should have not used the big beads as part of the bracelet except for on the ends as directed in the tutotrial, but I love it just the same. I had everything on hand to make this. I am not sure if everyone uses the wire eyepins and headpins like I do. I use the cut part to make more eyepins instead of throwing it away so you get more bang for your buck.


Thursday, June 7, 2012

another washer bracelet

This one is from The Answer is Chocolate http://answerischocolate.blogspot.com/2011/04/dollar-tree-washer-charm-bracelet.html and it was featured at Dollar Store Crafts. It was cheap to make as the washers are from the Dollar Tree, I had the bracelet, beads and the headpins on hand. If you remember, I used some of the remaining washers on some earrings that I made http://craftybliggityblog.blogspot.com/2012/05/earrings-from-my-girlish-whims.html I don't know about you, but I love taking something that is "manly" and making it girly.


Friday, June 1, 2012

Washer Bracelets

This bracelet comes to us from Sew Many Ways http://sewmanyways.blogspot.com/2011/06/tool-time-tuesdaywasher-bracelet.html
As you can see, I made one like hers and one with purple hearts and pearls that I had in my stash. I made the one with pearls and hearts with a lobster clasp and the other with a toggle clasp which I recommend since it is easier to get on and off. This was a simple bracelet to make and is adorable and dainty considering it is made from washers.


Monday, May 28, 2012

Twisty Bracelet

I made this


after seeing this:
http://www.happyhourprojects.com/2012/03/beaded-bracelet.html

This started with the unakite (the green stone) bracelet that I never wear. I then strung the wooden beads, the clear plastic beads and the metallic bugle beads on their own strands, making a loop on the Acculon and crimping it. Connect with a jump ring to each end and twist as directed in instructions. This is an easy to make bracelet and I like how it turned out. I just happened to have all of these items on hand. If you make a lot of jewelry I am sure that you will have something that will work for you.


Sunday, May 27, 2012

Shinky Dink Bracelet from Rust & Sunshine


I made this after seeing this post. http://rustsunshine.blogspot.com/2012/04/shrinky-bracelet.html I have meaning to make shrinky dinks for a while now. This was a fun, easy and cheap project . If you don't want to purchase something from the bakery/deli, politely ask them for containers. Make sure they are #6 plastic. I ended up getting two smaller ones (like the ones they place a single slice of cake or a small sandwich in) since they were out of the larger size they place cookies in. I randomly scribbled on the containers once cut out in purple and pink sharpies but use your faves. I then cut each piece into four and rounded the corners and hole punched as directed. Preheat your oven to 250 degrees F. Place the plastic on a wax paper covered cookie sheet. Make sure you watch the plastic as it curls and then flattens very quickly in the oven. If I make another one I may draw flowers on each rectangle or even make a heart shaped pendant.


Friday, May 25, 2012

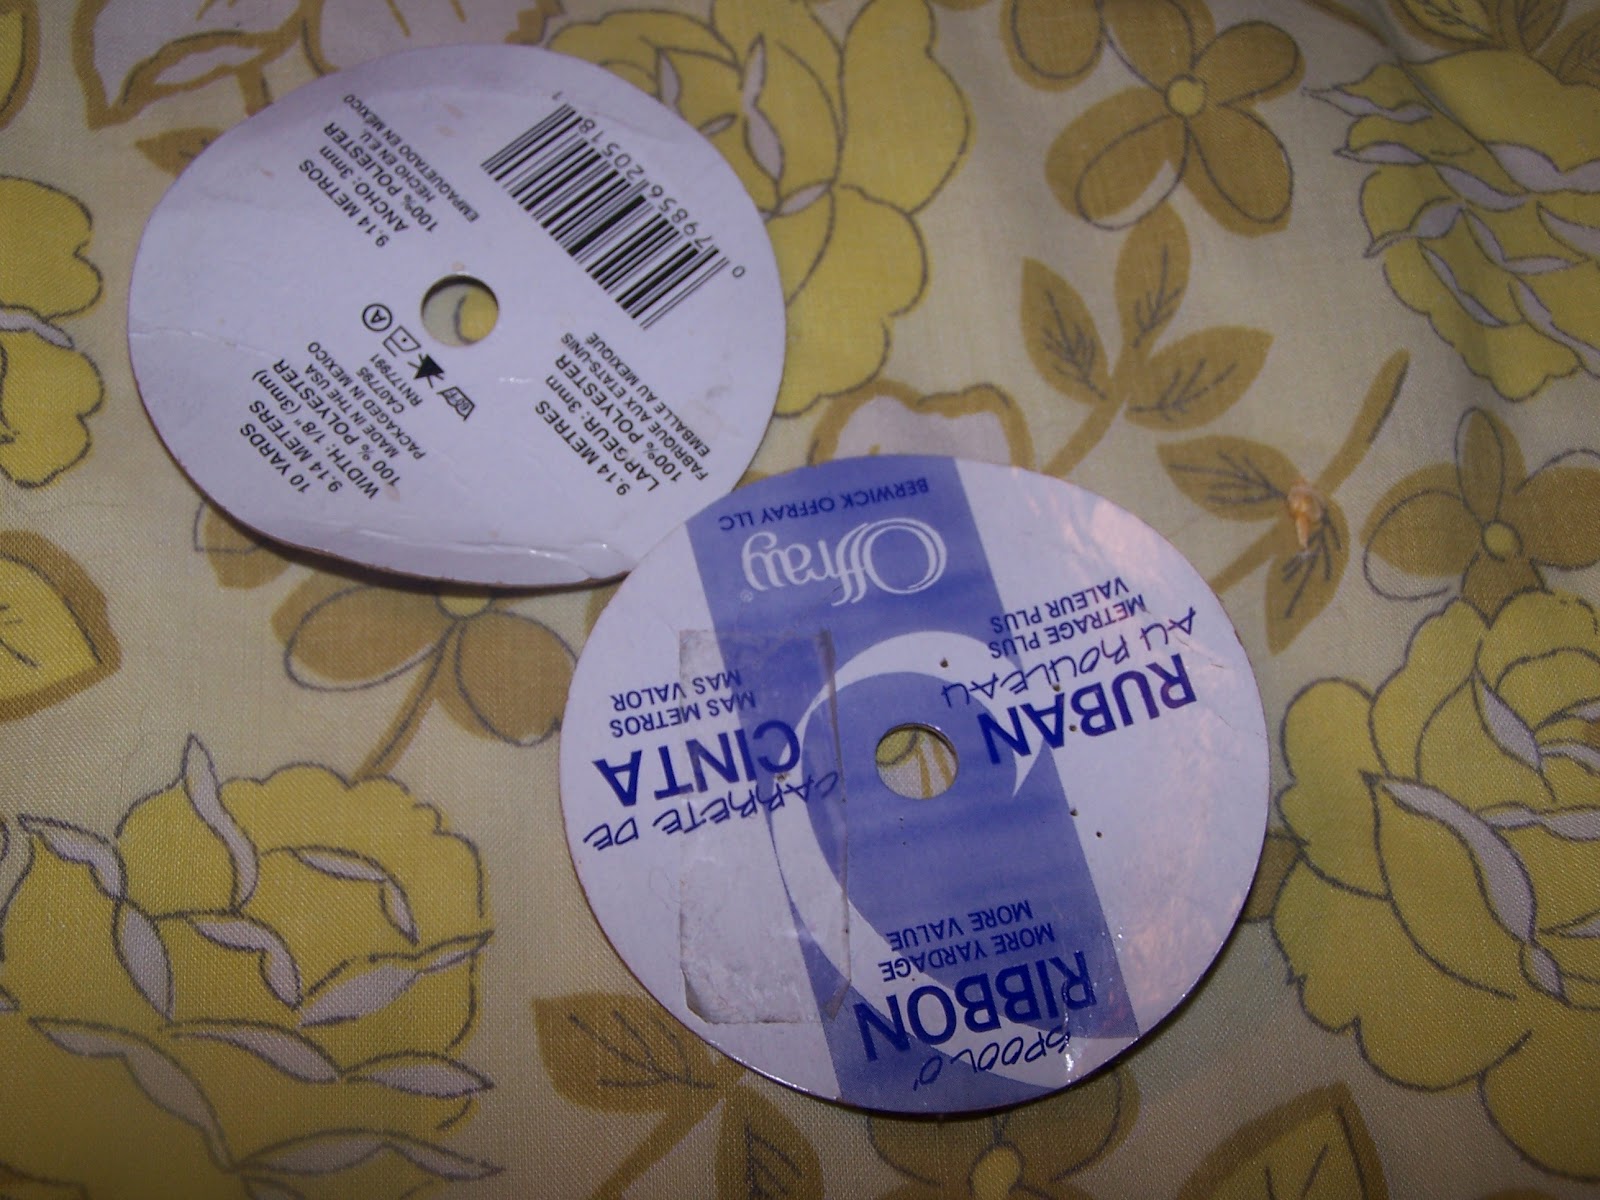
Ribbon Roll Bracelets

I am sure that you have seen these before, but in case you haven't.......

Start with one of these.


Remove these and recycle.


You are left with this, make sure it will fit you before you proceed. In my case I used a larger ribbon roll than pictured.


Cover with scrap fabric or ribbon. I use hot glue.


Wear your bracelets and have your friends oooh and ahh.


Thursday, May 24, 2012

Willy Nilly Bracelet from Flamingo Toes


Here are two more bracelets I have made using a tutorial from Bev at Flamingo Toes. http://www.flamingotoes.com/2010/10/willy-nilly-bracelet-tutorial/
I didn't do the ring of beads around mine, that is the only thing that I did differently. I loved this project because it was simple to make and I just happened to have everything on hand (and it looks awesome).


Tuesday, May 22, 2012

Unlikely Bracelet

 I am sure that lots of you use this:


And it comes with one of these as a clip to hold the wire on the spool, like so.


Cover the clip with ribbon and voila!


Monday, May 21, 2012

Chain & Pearl Multi-Row Bracelet

Hello everyone. I am sure you have all seen this tutorial from Flamingo Toes...http://www.flamingotoes.com/2011/11/chain-pearl-bracelet/ Very beautiful. And check out her other tutorials while you are there. I love her blog. It was almost a craft fail for me. I started off not having the same amount of chains that she had, total I had 12 including the beaded ones. The chains were on hand and scrap. One was from a necklace that I hardly ever wear. I thought that I would still make it, even though I didn't have the multi-chain clasp she had...I had one that had two. Midway through attaching the chains, the bar closure broke leaving the loop intact. I used a single loop bar and it worked out OK, don't you think?